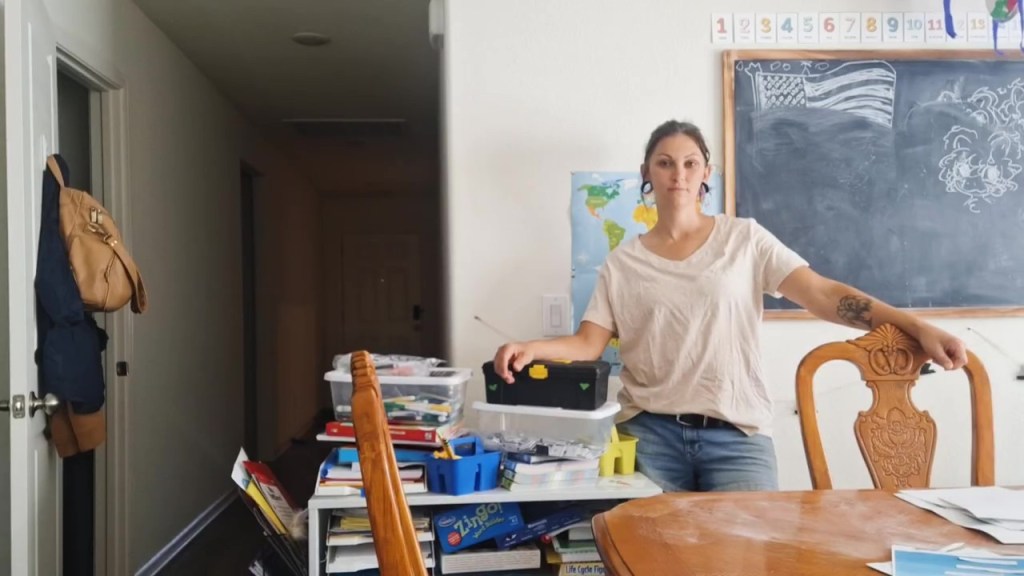
If your homeschool space feels overwhelming, messy, or impossible to keep up with — you’re not alone. This reset wasn’t about creating a Pinterest-perfect homeschool room. It was about function, flow, and making our day feel easier.
Our school cart had slowly turned into a disaster. Papers everywhere. Supplies mixed together. Things that should have helped were actually slowing us down.
So before the new school year, I decided to declutter first, then organize intentionally, and finally reset our homeschool rhythm around how we actually use the space.
Step 1: Declutter First (Yes, Even When It Feels Overwhelming)
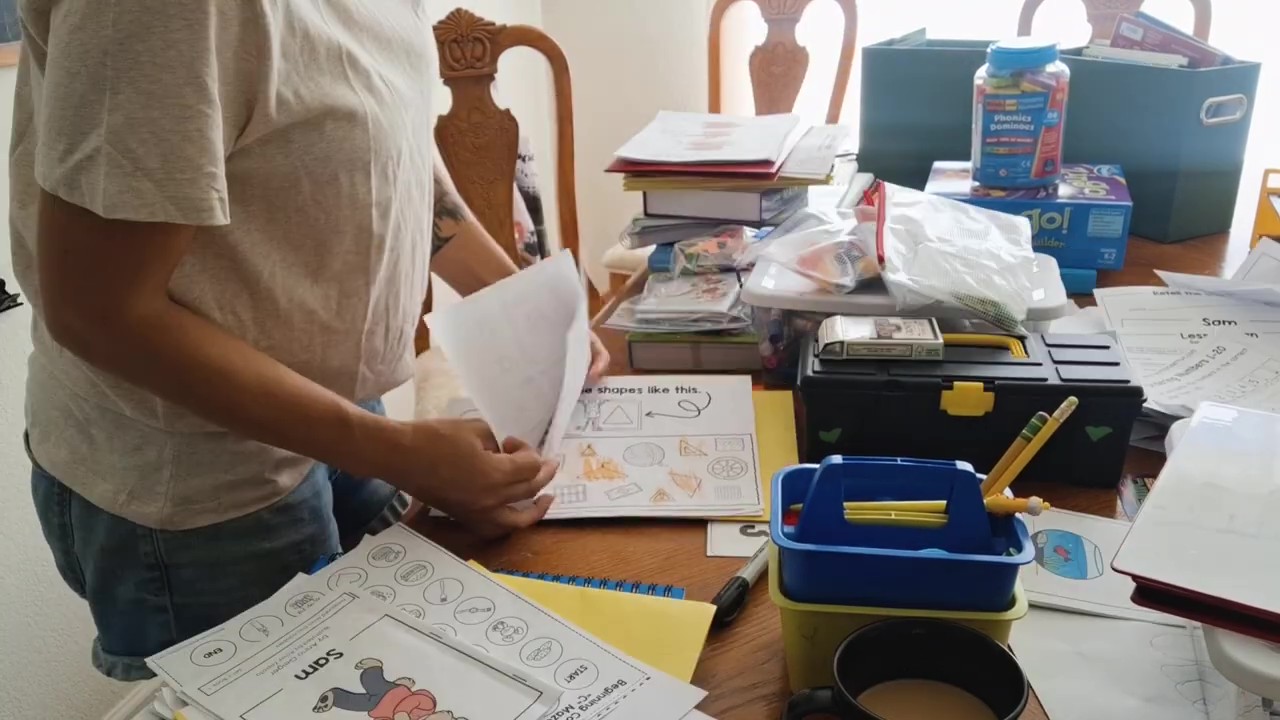

Before organizing anything, I cleared everything off our school cart and surfaces. Completely starting from zero made it easier to see what we truly needed and what was just taking up space.
This part felt overwhelming — and that’s normal. Homeschool spaces collect paper fast. But pushing through this step made the biggest difference.
Mindset shift:
Decluttering isn’t failure. It’s maintenance.
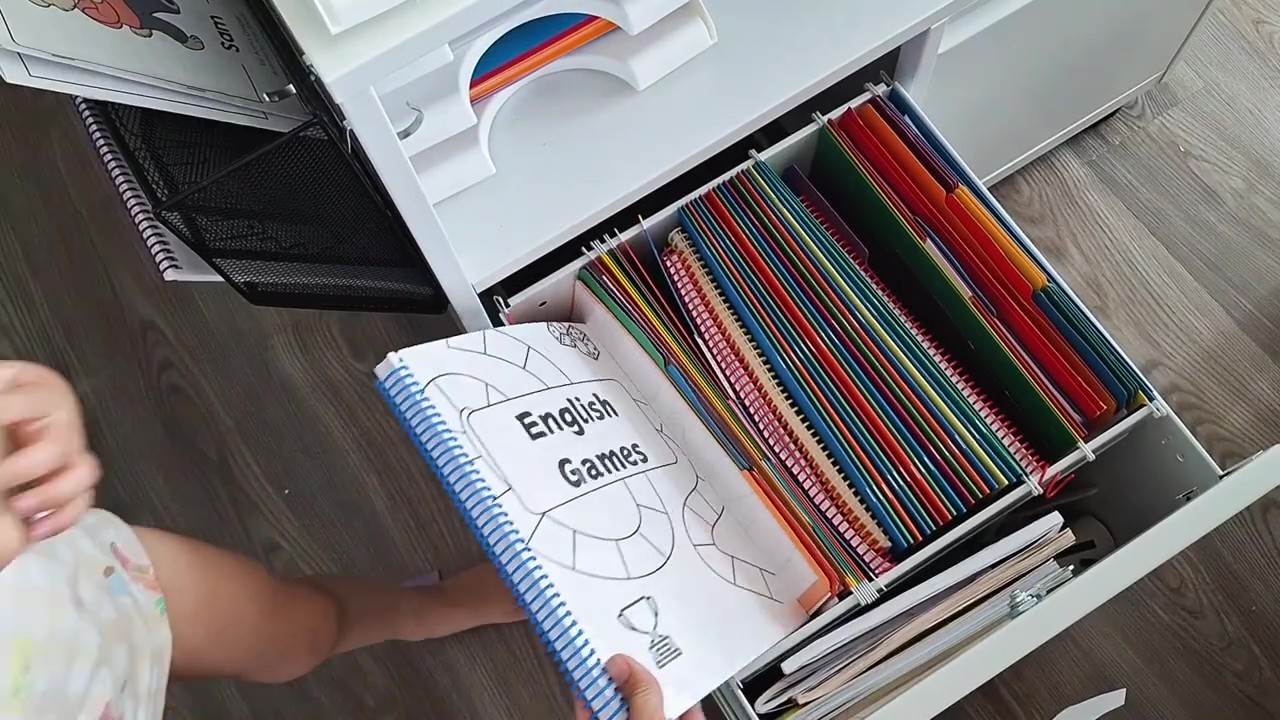
Step 2: Create a Simple System for Finished Work
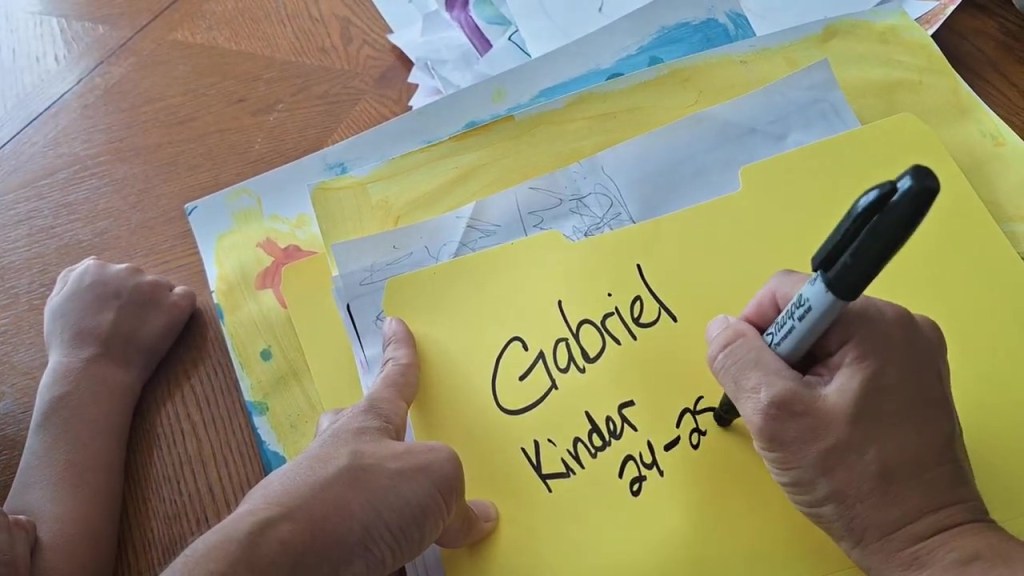
One of my goals is to save meaningful schoolwork from each year — without drowning in paper.
I use a hanging file system to store:
- finished worksheets
- unit study pages
- special projects
Each child gets their own labeled folder, and everything stays contained.
Step 3: Reset the School Cart (This Is the Game Changer)
Once everything was decluttered, I rebuilt the cart based on how we actually use supplies during the day.
Why a Rolling School Cart Works So Well
This cart is hands-down my favorite homeschool purchase:
- Works in small spaces
- It’s on wheels
- Holds a surprising amount
- Keeps everything within reach
Step 4: Communal Supply Caddy (Instead of Individual Ones)
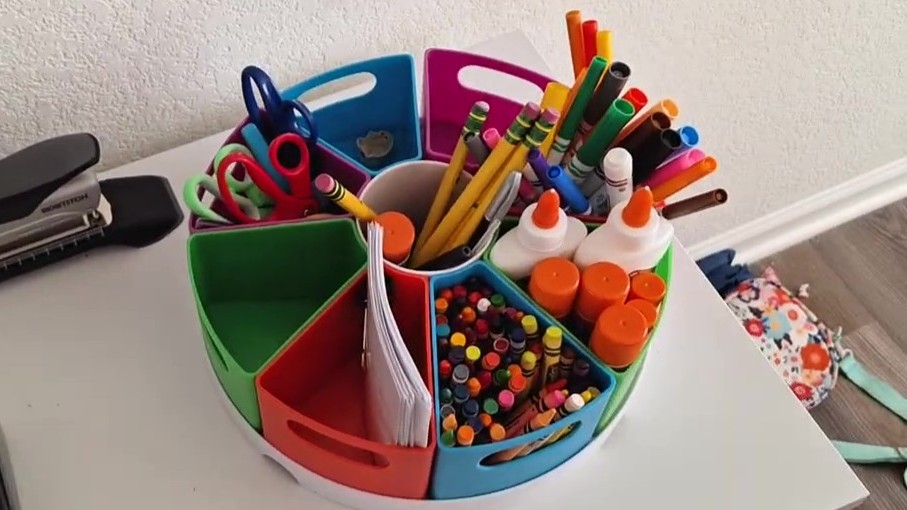
Last year, individual supply caddies didn’t work for us. This year, I switched to one communal supply caddy that holds:
- crayons
- markers
- glue
- flashcards
- scissors
Everything we need is within arm’s reach, and extras go into a separate bin.
Step 5: Organizing Letter Tiles
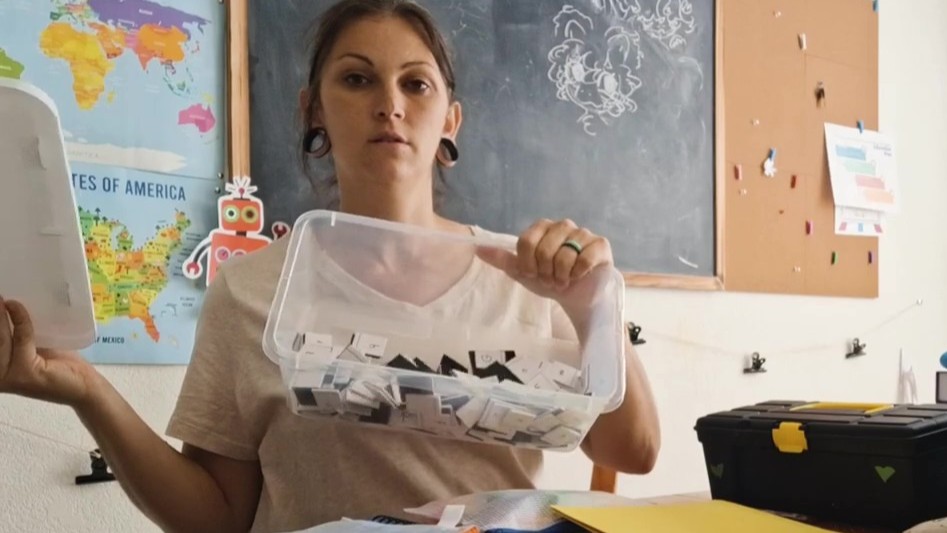
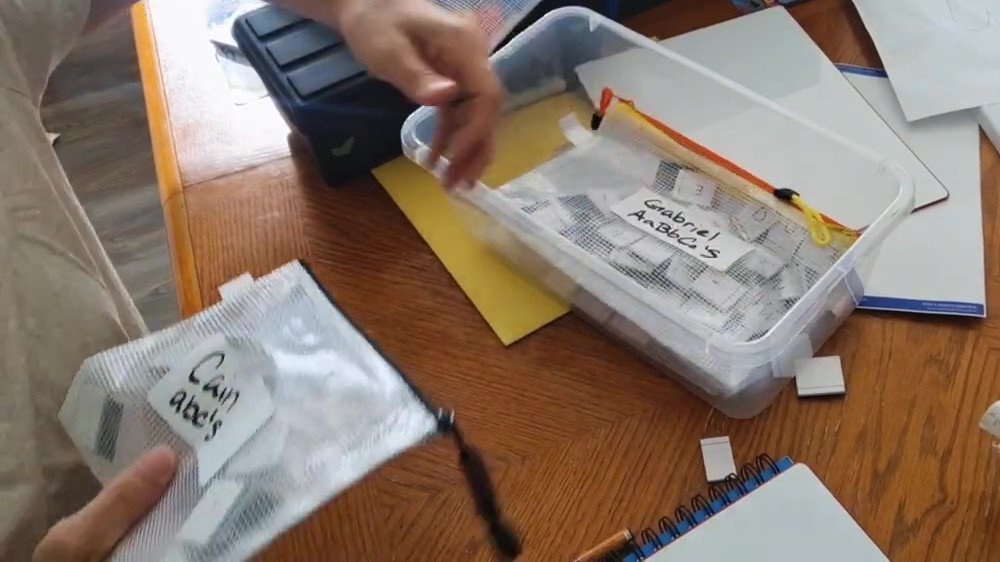
Digging through one giant box of letter tiles was wasting precious time. I reorganized them into:
- individual alphabet sets (one per child)
- separate bags for digraphs, trigraphs, punctuation
Now everything is labeled, binned, and easy to grab.
Step 6: My Teacher Tool Kit
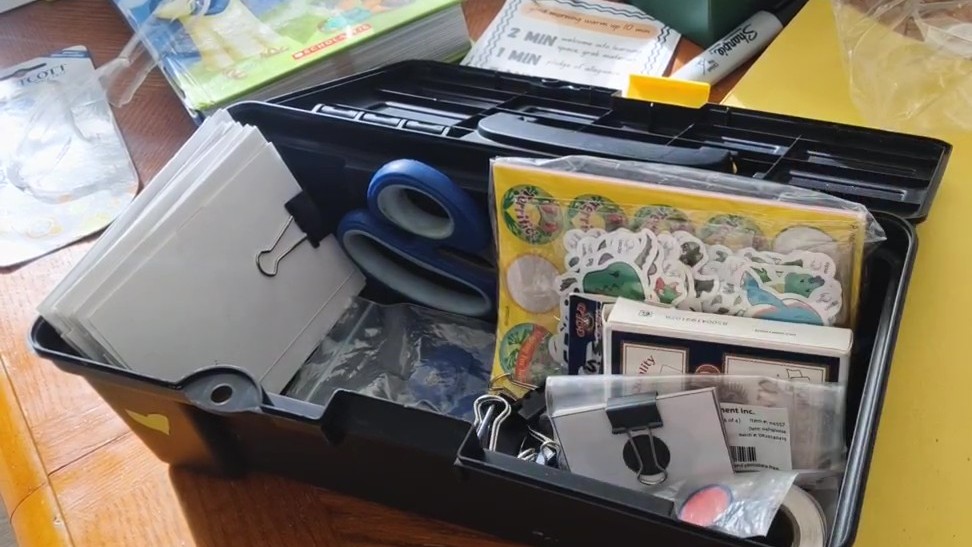
This is where I keep everything I need during the school day:
- scissors
- incentive stickers
- game pieces
- dice
- clips
- speech cards
I use a small toolbox (from the dollar store) so I’m not hunting for supplies while teaching.
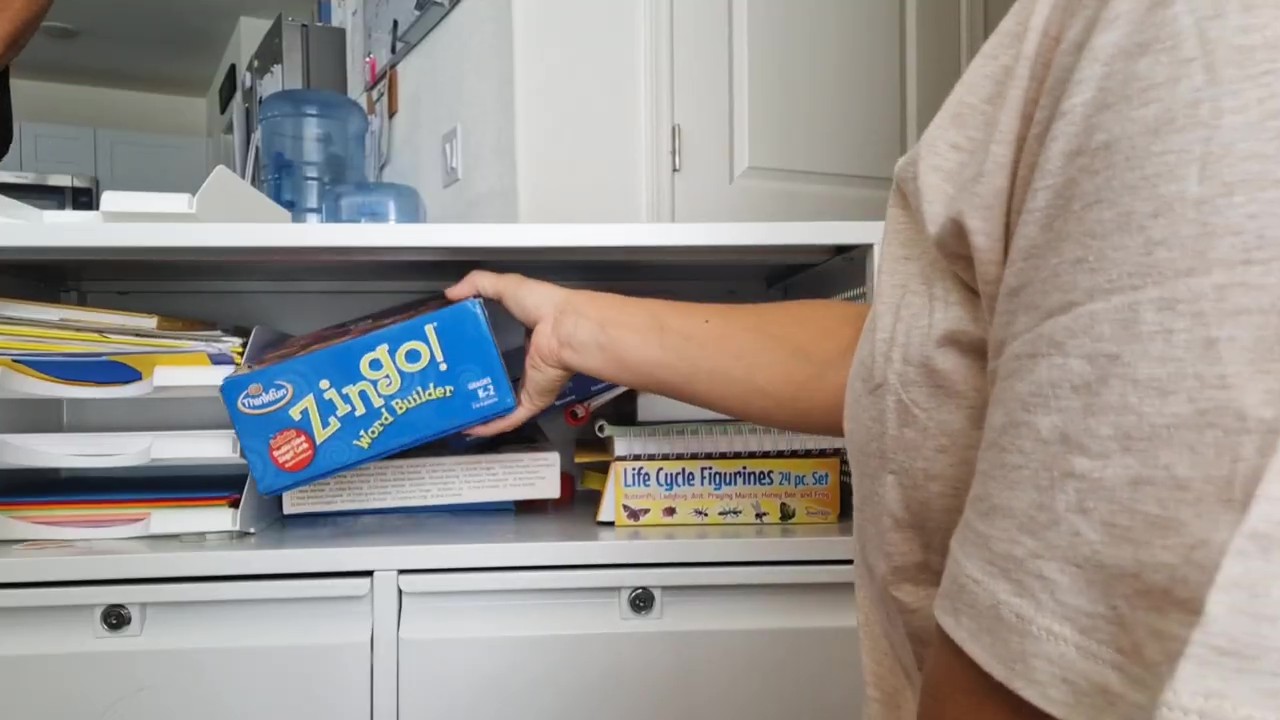
Step 7: Paper & Game Storage (Simple, Not Complicated)

Printed games, worksheets, and activities live in:
- paper trays
- simple folders
- labeled bins
Nothing fancy — just easy to maintain.
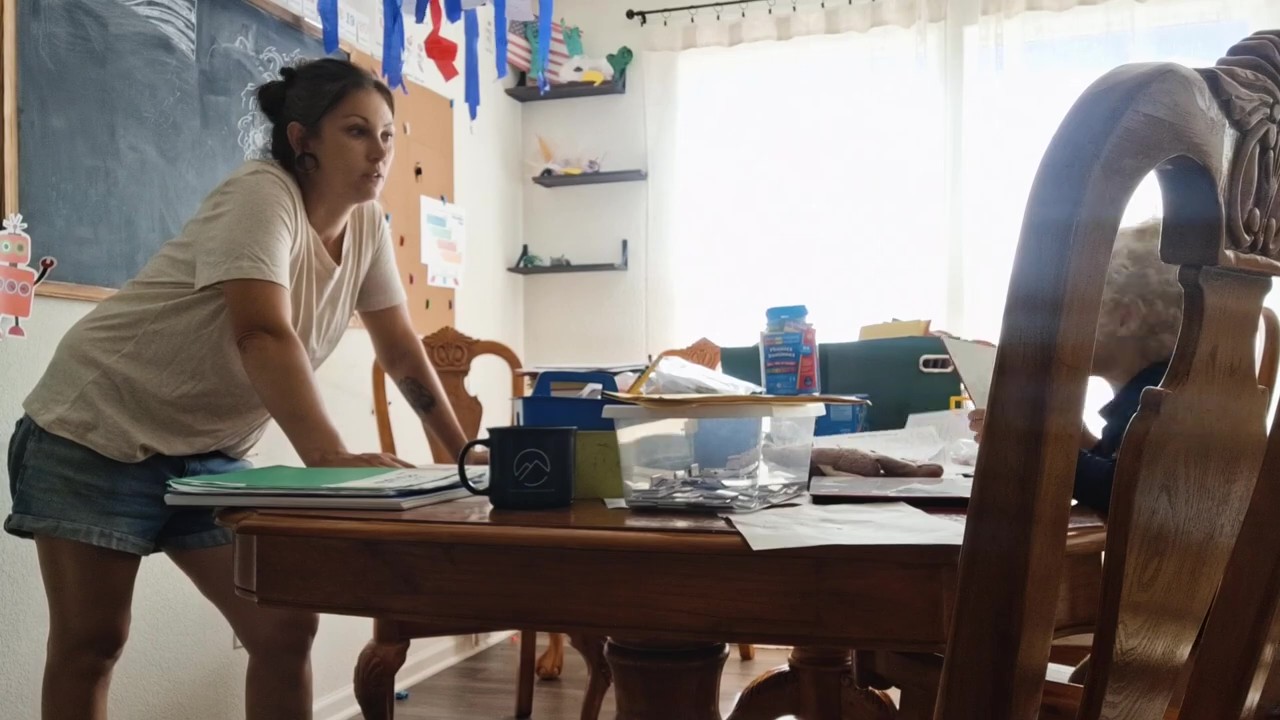
Our Realistic Homeschool Setup (Small Space Friendly)
We don’t have a dedicated homeschool room. Our school happens where it fits — and that’s okay.
Extra books and supplies live in a closet for now. The cart rolls where we need it. The system works with our space, not against it.
That’s the goal.
Watch the Full Homeschool Reset on YouTube
If you want to see this setup come together step-by-step — including the messy middle — you can watch the full video here:
If You’re Feeling Overwhelmed Right Now…
Here’s what matters most:
- Declutter first
- Organize for real life
- Choose systems you can maintain
You don’t need a perfect homeschool room.
You need one that works for your family.
Shop The Basic Homeschool Supplies I Use
If you’d rather browse everything in one place or are just starting out, I’ve linked my basic homeschool supply list here.

Leave a reply to Our Homeschool Morning Rhythm (What’s Working for Us Right Now) – House of Cruz Cancel reply